News › Pre-Order
One Button at a Time: How Preorder Takes Over Add to Cart
How does a preorder button replace Add to Cart on Shopify?
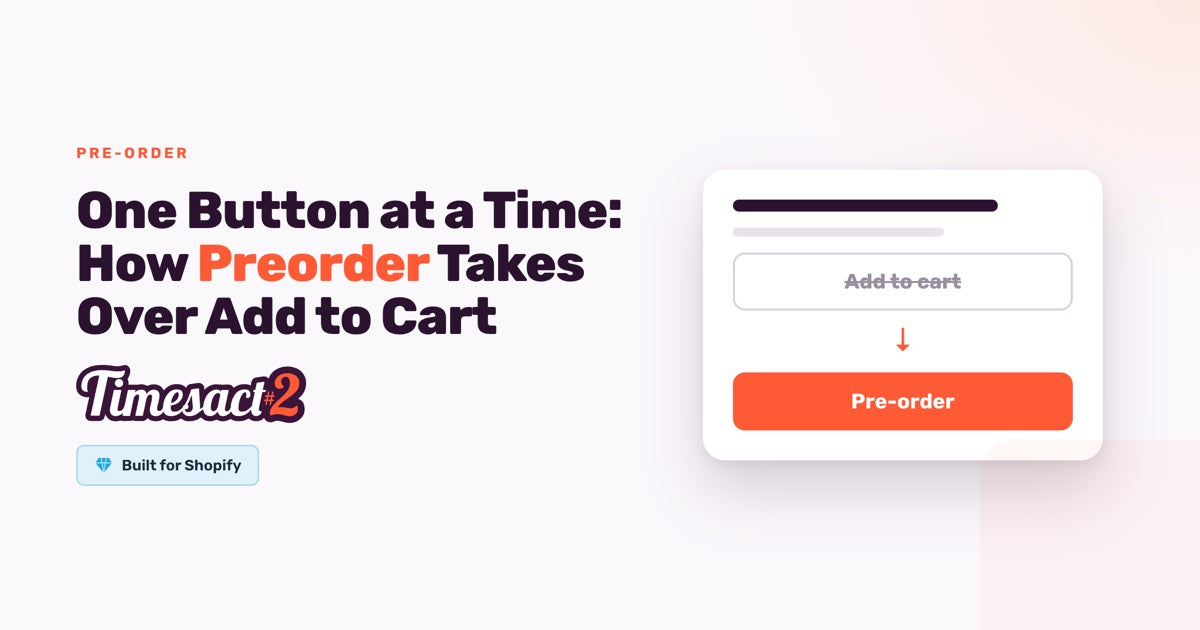
Timesact switches the existing button rather than adding a second one. When a variant is on preorder, the preorder state takes over the button area that Add to Cart or Sold Out was occupying, so the purchase button on the page is the preorder one.
That single design decision explains most of what follows. Because the button is a swap rather than an addition, the interesting questions are about scope (which items get swapped), wording (what the swapped button and the copy around it say), and placement (where in your theme the swap happens). Take those three deliberately and the button behaves the way you intended on the first drop.
Making the button appear only on the items you choose
Preorder is configured per variant, which is what makes a mixed catalogue work. Add a product in Timesact, then assign a Customer Experience with Pre-order to the specific variants you want it on — the 38mm in tan can be on preorder while the 42mm in black is still a normal Add to Cart.
What decides when the swap happens is the When Pre-order shows setting in the Customer Experience assigned to that variant. You'll find it under Experiences → your Customer Experience → Functionality settings, and it has three options:
| Option | The button swaps to preorder |
|---|---|
| Only when out of stock | Once Shopify inventory for that variant reaches zero |
| Always, whatever the stock level | Immediately, whatever the inventory says |
| Only while Shopify stock lasts | While Shopify inventory is available for that variant |
The first option is the one most stores want for an existing catalogue, because it leaves everything selling normally and only takes over when an item runs out. The second is the launch option — you are opening orders on something you have not stocked yet, so inventory is not the trigger. How preorders interact with your inventory goes deeper on the counting side of that.
One scoping note worth knowing before you plan a drop: preorder settings are variant-level, but Tag automation is product-level, because it works from Shopify product tags. If you drive campaigns by tagging products for a drop, the rule lands on the whole product rather than on individual variants.
Because the swap follows the variant's state, a product you have added to Timesact goes Active on its own: it shows as Scheduled until its start date, and as On standby while an out-of-stock mode waits for its Shopify stock to reach 0. If you would rather nothing changed on the storefront until launch day, set the start date to your launch day and the button swaps in on schedule. You can see where each product stands in the app's Products list.
What controls the wording
The customer-facing text is set in the Customer Experience, and knowing which field owns what saves a lot of hunting:
- The Customer Experience owns the button text, the badge, and the cart label. You'll find it under Experiences in the Timesact app, and it applies anywhere that Customer Experience is assigned.
- The Pre-order message is the app-side message shown near the button.
- The Split payment Description is the short line directly under the split payment options.
That last pair is worth setting deliberately, because they are two separate fields, each with its own placement. If the same sentence is entered in both the Pre-order message and the Split payment Description, the wording can appear twice. Keep your message in one of the two and leave the other empty, and the product page carries it once.
Where the swap shows up
On the product page the preorder button occupies the same position your Add to Cart button did, so it inherits your theme's layout for that area. On collection pages, the button, message and badge have their own settings in the Collection page section of the same Customer Experience. There is a fuller tour of the surfaces in where the preorder button and badge show up.
Turning it on
Enable the Timesact App Embed on the theme you are publishing, under Online Store → Themes → Customize → App Embeds, then click Save in the theme editor — the embed takes effect once the theme is saved. The embed is set per theme, so enable it on the theme your storefront is actually running.
A preorder sits on three layers, and each has its own job:
- The Customer Experience — what the customer sees. Open Experiences, create or select a Customer Experience, add Pre-order (Functionality → Add functionality) and keep it enabled, then assign it to the variant; every preorder uses a Customer Experience, and it carries the button text, badge, message and cart label.
- When Pre-order shows — when preorder turns on. Set it in the same Customer Experience under Functionality settings, using one of the three options above.
- The Shopify purchase option — the payment terms. With Use Shopify purchase option, it carries the charge timing and the scheduled shipping date, plus when the rest is charged if you take a Split payment. A full-payment preorder can also run with Don't use a Shopify purchase option.
With the embed saved and a Customer Experience with Pre-order assigned to the variant, the button swap goes live as soon as its When Pre-order shows condition is met.
Themes with their own layout
Timesact places the button by recognising your theme's product form, and the standard Shopify product template is recognised automatically — most stores enable the embed, configure a variant, and see the button in place.
Homepage Featured Product sections and quick-view popups are covered by the app too, and landing-page product blocks built in a page builder are picked up when they use a standard add-to-cart form. For a heavily customised block, our support team can fine-tune the implementation for your theme. If your store runs a heavily customised theme and you want the button styled to match precisely, that is exactly the kind of thing a setup call is for.
One structural note for stores using visual swatches: Timesact reads the real variants from a product's Variants section in Shopify, and Customer Experiences are assigned per variant. Build the options you want to preorder as real variants.
Set the swap up before your next drop
The preorder button is a replacement, and once you have decided which variants it applies to, which When Pre-order shows option triggers it, and which single field carries your message, it behaves predictably across your catalogue. Configure the variants you are opening, put your wording in one place, save the App Embed on your live theme, and the button your customers meet on launch day is the one you designed.
FAQs
Can I show a preorder button and an Add to Cart button at the same time?
Timesact's button is a swap rather than an addition — it switches the default button to whichever state the variant is assigned to, so the preorder button replaces your theme's purchase button instead of sitting beside it.
How do I make the preorder button appear on only some products?
Preorder is set per variant, so you add a product in Timesact and assign a Customer Experience with Pre-order to the specific variants you want. The When Pre-order shows setting in that Customer Experience (under Functionality settings) then decides when the swap happens — once the variant sells out, always whatever the stock level, or only while Shopify stock lasts.
Why does my preorder message appear twice on the product page?
It is usually set in both the Pre-order message and the Split payment Description — two separate fields, each with its own placement on the product page. Keep the message in one of them and leave the other empty, and the page carries it once.
Will the preorder button work on a homepage Featured Product section or a landing page?
Yes. Timesact renders in homepage and landing-page Featured Product sections as well as on product and collection pages, and it works with page builders such as EComposer, PageFly, Shogun, GemPages and Instant Page Builder. For a custom-built block, our support team can fine-tune the implementation for your theme.
Can I put a theme colour swatch on preorder without it being a real Shopify variant?
Timesact reads the actual variants listed in a product's Variants section in Shopify, and Customer Experiences are assigned per variant. Build the options you want to sell on preorder as real Shopify variants and Timesact can manage each one independently.
Run this in Timesact
Pre-order, back-in-stock, coming-soon and more — one app, no code.
Install the app →