News › Pre-Order
Replace Add to Cart with a Pre-Order Button on Shopify
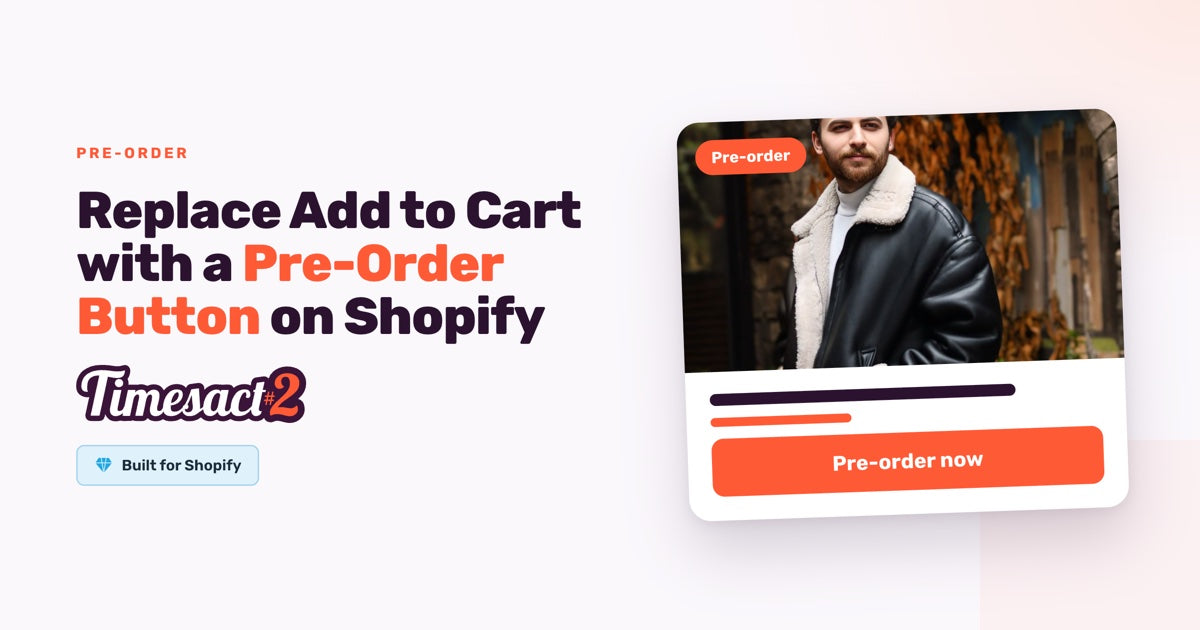
One of the first things merchants ask when they start exploring preorders is deceptively simple: how do I actually change that button? The "Add to Cart" button is the most prominent call to action on any product page — and when a product is out of stock or not yet launched, leaving it as-is sends the wrong signal entirely. A greyed-out button or a "Sold Out" label tells the customer there's nothing they can do. A "Pre-Order" button tells them something very different: this product is coming, and you can secure yours now.
Making that switch doesn't require editing theme code or hiring a developer. With the right setup, it's a configuration change that takes a few minutes and applies automatically based on your inventory rules. This guide walks through exactly how that works — what changes on the storefront, what the customer sees, and how to get it configured correctly the first time.
Why the Button Matters More Than You Think
The "Add to Cart" button isn't just a functional element — it's the primary conversion point on your product page. Every other element on that page exists to get a customer to click it. When that button reads "Sold Out" and does nothing, the entire page stops working as a sales tool.
Replacing it with a "Pre-Order" button changes the page's function entirely. Instead of a dead end, it becomes a demand capture mechanism. The customer has a clear action to take, the expectation is set — this is a preorder, not an immediate purchase — and the transaction can proceed.
The messaging around the button matters just as much as the button itself. A preorder button without any supporting context (expected ship date, what happens at checkout, what the customer is committing to) creates confusion and increases the likelihood of chargebacks or cancellation requests after the fact. Done well, the button swap paired with clear messaging is the foundation of a trustworthy preorder experience — and as detailed in this guide to building preorder product pages that convert, the details around that button are often what separates high-converting preorder pages from ones that underperform.
What Actually Happens When You Replace the Button
It helps to understand the mechanics before walking through the setup. When Timesact is configured for a product or variant, it doesn't modify your theme's code — it works through Shopify's native App Embed system to replace the storefront button state for the relevant product.
What this means practically:
- The "Add to Cart" button is replaced by the "Pre-Order" button (or whatever label you configure) for that specific product or variant.
- In stock variants continue showing "Add to Cart" normally — the swap is surgical, not store-wide.
- When the preorder campaign ends or inventory is restored and the product is removed from Timesact, the button reverts cleanly. No leftover code in your theme.
- The button replacement works at the variant level — so for a product with multiple sizes or colors, you can have some variants on preorder (showing "Pre-Order") while others remain as standard purchases (showing "Add to Cart").
This variant-level control is particularly useful for large or complex catalogs where only certain configurations are out of stock or not yet available, without affecting the rest of the product listing.
The Niche-Specific Challenge: When "Add to Cart" Stops Working
Different types of merchants hit this problem in different ways, but the underlying pattern is consistent.
Merchants launching new products have inventory on order but not yet in hand. Leaving the product page live with no purchase option means losing the early demand that launch momentum generates. Replacing "Add to Cart" with "Pre-Order" lets them use a new product launch as a revenue event from day one, not from the day stock arrives.
Merchants with recurring stockouts on fast-moving SKUs face this regularly. The product sells through, the page goes dead, and they're left waiting for a restock while traffic keeps arriving. A preorder button keeps that page earning during the gap.
Merchants with large catalogs — anywhere from a few hundred to tens of thousands of SKUs — need a system that can handle the button swap at scale, across many products and variants, without manual intervention for each one.
In all three cases, the core need is the same: replace a non-functional button with one that converts, without breaking the theme or creating a custom development project.
What Merchants Are Usually Trying to Fix
When merchants come to this specific problem, the pain points they describe tend to cluster around a few recurring themes:
- "My product page goes dead when I'm out of stock" — there's no action for visitors to take, and no way to capture their interest while they wait.
- "I don't want to hide the page but I also can't let people add it to cart normally" — taking the product offline loses SEO equity and organic traffic; leaving it up with a dead button loses conversions.
- "I need different button states for different variants" — some sizes are available, some aren't, and a blanket "Sold Out" on the whole product is inaccurate and frustrating for customers.
- "I tried editing my theme and broke something" — DIY button swaps via theme code are risky and often not reversible cleanly.
- "I want to set a shipping date expectation on the button or near it" — customers need context to commit to a preorder, and the standard button gives them none.
How Timesact Handles the Button Replacement
Timesact replaces the "Add to Cart" button with a "Pre-Order" button through Shopify's App Embed system — no theme code editing required. Here's how the key pieces work:
The Purchase Option
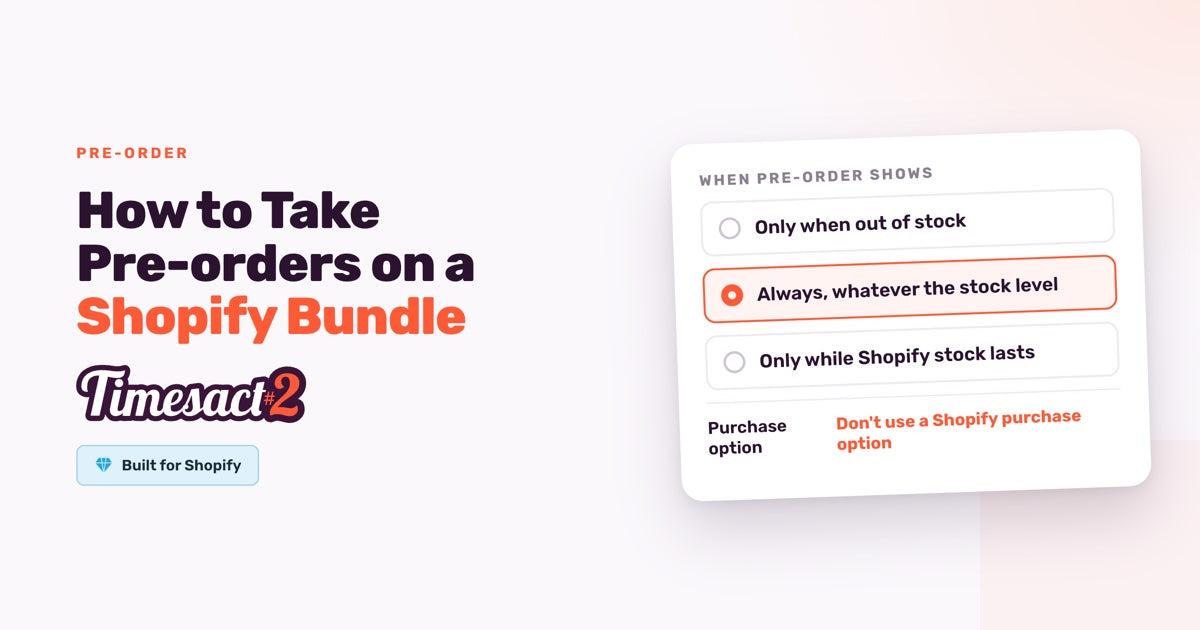
Shopify requires a purchase option for any preorder that involves a deferred payment or specific purchase condition. In Timesact, you choose this inside your pre-order Customer Experience, under Functionality settings: "Use Shopify purchase option" supports Split payment and pre-order discounts, while "Don't use a Shopify purchase option" takes the full amount at checkout. Functionality settings is also where you set the shipping date — the expected date the product will be dispatched — which Timesact can then surface in your storefront messaging via smart variables.
If you're running a straightforward preorder with full payment at checkout and want to display an expected ship date, the Shipping card in your Customer Experience's Functionality settings is where that date lives.
The Pre-Order Customer Experience
The Customer Experience controls everything the customer sees: the button label, the message below the button, the cart label, and any supporting text. This is where you configure "Pre-Order" as the button text (or any variation you prefer — "Reserve Yours," "Order Now," etc.), and where you write the short message that sets expectations for the customer.
A well-configured Customer Experience answers three questions the customer has at the moment they're deciding whether to click: What am I buying? When will it arrive? What happens to my payment? You don't need to answer these in paragraph form — a single line of clear message text beneath the button is usually sufficient.
Variant-Level Assignment
Once your Customer Experience is in place, you add the product to Timesact and assign the Customer Experience to the specific variants you want on preorder. Variants not assigned remain on their standard "Add to Cart" state. This is the step that makes the button swap live on your storefront.
Step-by-Step Setup
This is the full sequence from installation to a live preorder button:
- Install Timesact from the Shopify App Store and open the app in your Shopify admin.
- Enable the App Embed. In Shopify admin, go to Online Store → Themes → Customize → App embeds, switch on the Timesact app embed for your active theme, and click Save in the theme editor. This is the activation step that connects Timesact to your storefront.
- Create a pre-order Customer Experience. Open Experiences in Timesact, choose a Pre-order template or Create Customer Experience, and make sure Pre-order is added under Functionality. In Functionality settings, set your shipping date if you have one confirmed, and choose how payment is taken — Full amount or Split payment.
- Set up the Pre-Order text. In the same Customer Experience, open Product page to configure your button text and the message that appears beneath or near the button, then open Cart page to set the cart label. Use the {{shippingDate}} smart variable in your message if you've set a shipping date in Functionality settings — this pulls the date automatically so you don't have to update it manually.
- Add your product to Timesact. Go to Products, add the product, select the variants you want on preorder, and assign your Customer Experience to them.
- Choose when Pre-order shows. In your Customer Experience's Functionality settings, When Pre-order shows gives you three options: Only when out of stock; Always, whatever the stock level; or Only while Shopify stock lasts. For a standard out-of-stock preorder scenario, "Only when out of stock" is the right setting.
- Preview the customer experience. Before going live, place a test order through your storefront to see exactly what your customers will see — the button, checkout flow, payment breakdown, and preorder confirmation email. For a full walkthrough, see our guide to launching your first preorder with Timesact.
- Go live. Once you're happy with the preview, your preorder button is live. Customers arriving at the product page will see "Pre-Order" instead of "Add to Cart" or "Sold Out," with your configured messaging setting expectations clearly.
Implementation Notes
A few practical details worth knowing before you configure:
- Button text is fully customizable. "Pre-Order" is the default, but you can use any label that fits your brand — "Reserve Now," "Order Yours," "Secure Your Spot." Update it on the Product page of your Customer Experience.
- The cart label is separate from the button label. Configure both — the cart label is what the customer sees after they've added the item, and it should reinforce that this is a preorder, not a standard purchase.
- Finish your product setup in Shopify before adding it to Timesact.
- Timesact can handle "Continue selling when out of stock" for you. With "Turn this on automatically" switched on in your Customer Experience's Functionality settings, Timesact turns on Shopify's "Continue selling when out of stock" for the variant while the preorder is active, and turns it back off afterwards.
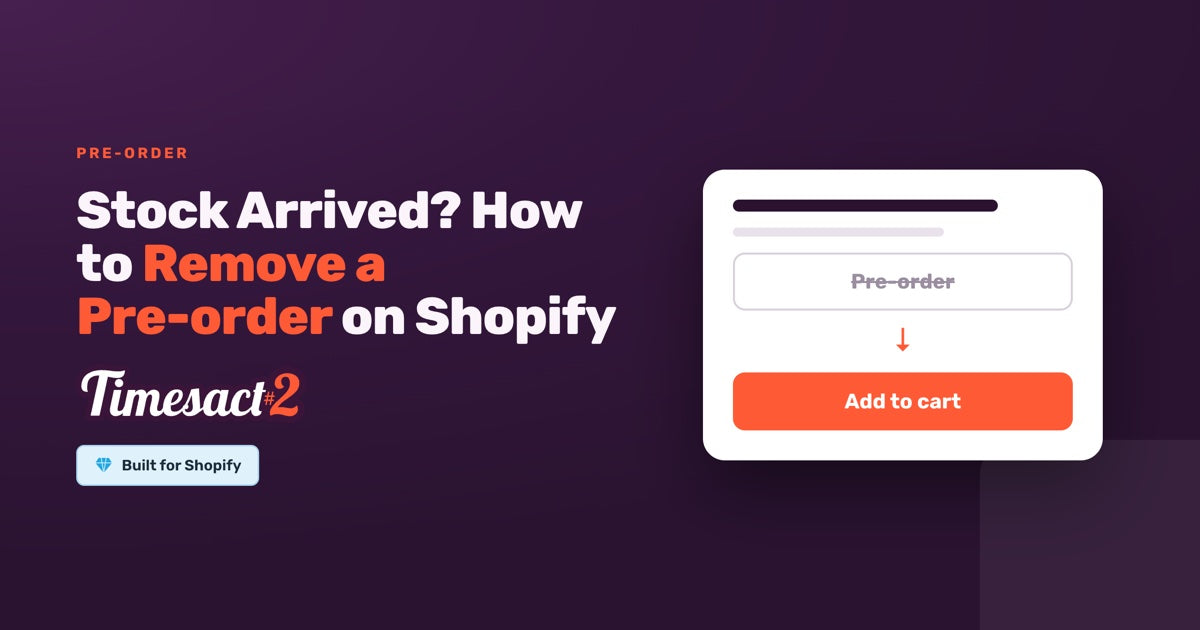
- The preorder button reverts cleanly when you're done. When you remove a product from Timesact or your campaign ends, the button returns to its standard state — "Add to Cart" if stock is available, "Sold Out" if not. No theme cleanup required.
- For large catalogs, Tag automation in a Timesact Customer Experience lets you apply preorder settings to many products at once using Shopify product tags, rather than adding each product individually.
Results You Can Expect
When the preorder button is configured correctly and the messaging around it is clear, the impact on your product page is immediate and measurable through your Shopify analytics.
Dead pages start converting again. A product page with a working preorder button continues earning during stockouts or pre-launch periods instead of generating traffic with no return.
Customer expectations are set at the point of purchase. Clear shipping date messaging on the product page and in the cart reduces post-purchase confusion and the support volume that comes with it — the most common questions after a preorder ("when does it ship?" "what did I actually order?") are answered before the customer even clicks.
Variant-level precision reduces friction. Customers browsing a product with mixed stock can see exactly which variants are available now versus on preorder, and make an informed decision without contacting support.
No theme risk. Because Timesact works through Shopify's App Embed system and leaves no code behind on uninstall, merchants can configure and remove preorder buttons without involving a developer or worrying about residual changes to their theme.
A Practical Playbook for Your First Preorder Button
- Identify the product or variant you want to put on preorder — out of stock, upcoming launch, or limited availability.
- Decide when the preorder should show — only when the variant is out of stock, or whatever the stock level. Timesact can turn on "Continue selling when out of stock" for you.
- Install Timesact, enable the App Embed on your active theme in Shopify's theme editor, and click Save.
- Create your pre-order Customer Experience in Experiences, with your shipping date (if confirmed) and payment option.
- Set up your Pre-Order text in the Customer Experience — configure button text, supporting message with {{shippingDate}} if applicable, and cart label.
- Add the product to Timesact, select the relevant variants, and assign your Customer Experience — When Pre-order shows follows the option you chose in that Customer Experience's Functionality settings.
- Place a test order to preview the full customer experience end-to-end.
- Go live — your "Add to Cart" button is now a "Pre-Order" button for the configured variants.
- Monitor via Shopify orders using Timesact's preorder order tags to track preorder volume separately from standard purchases.
Ready to Replace That Button?
Switching from "Add to Cart" to "Pre-Order" is one of those changes that looks small on the surface but has an outsized effect on what your product page can do. It turns a page that was generating traffic with no revenue output into one that captures demand, sets expectations, and keeps your store earning — even when inventory isn't there yet.
The setup is no-code, reversible, and variant-level precise. Most merchants have their first preorder button live within a single session.
Install Timesact on Shopify and replace your first "Add to Cart" button today. If you'd like a guided walkthrough of your specific product setup, Book a free setup call and we'll get it configured together.
FAQs
Does replacing Add to Cart with a Pre-Order button require editing my Shopify theme code?
No. Timesact uses Shopify's App Embed system to replace the button state on your storefront without touching your theme's code. The only setup step required on the theme side is enabling the Timesact App Embed in Shopify's theme editor (Online Store → Themes → Customize → App embeds) and clicking Save — everything else is configured within the app. When you remove a product from Timesact or uninstall the app, your theme reverts to its original state with no cleanup needed.
Can I have a Pre-Order button on some variants and a regular Add to Cart on others?
Yes. Timesact operates at the variant level, so you can configure specific variants — particular sizes, colors, or configurations — to show a "Pre-Order" button while other variants of the same product continue showing the standard "Add to Cart." This is especially useful for products with mixed stock across their variant range.
Can I customize what the Pre-Order button says?
Yes. The button text is fully configurable in your Timesact Pre-Order Customer Experience. You can use "Pre-Order," "Reserve Now," "Order Yours," or any label that fits your brand and product context. The cart label — what customers see after adding the item — is configured separately and should also clearly indicate the item is a preorder.
What happens to the Pre-Order button when my campaign ends or stock comes back?
When a product is removed from Timesact or a preorder campaign reaches its end date, the button reverts automatically to its standard state: "Add to Cart" if inventory is available, "Sold Out" if not. No manual theme changes or developer involvement is required. This makes it practical to run time-limited preorder campaigns without any technical overhead at the end.
Do I need a separate Customer Experience for every preorder, or can I reuse one?
You can reuse the same Customer Experience across multiple products and variants, as long as the settings are the same — the same shipping date, payment conditions, and customer-facing text. If different products have different shipping dates or purchase conditions, create separate Customer Experiences for each and assign the appropriate one to each product or variant in Timesact.
Run this in Timesact
Pre-order, back-in-stock, coming-soon and more — one app, no code.
Install the app →