News › Pre-Order
Launch Your First Preorder in Timesact in Under 5 Minutes
Running out of stock doesn’t have to mean losing sales. With Timesact’s preorder feature, you can continue capturing revenue even when your inventory hits zero, while simultaneously gauging customer demand for future restocks. This comprehensive guide will walk you through setting up your first preorder campaign in less than 5 minutes.
Why Use Preorders for Your Shopify Store?
Preorders are a powerful tool for ecommerce businesses. They allow you to test market demand for new products, maintain sales momentum during inventory gaps, and create anticipation for upcoming launches. Timesact makes this process simple by automatically switching between “Add to Cart” and “Preorder” buttons based on your stock levels.
Prerequisites
Before you begin, ensure you have:
- Products listed in your Shopify inventory
- A pre-order Customer Experience in Timesact, which holds your preorder settings. Open Experiences and either use a recommended template or click “Create Customer Experience”, give it a title, and add Pre-order with “Add functionality”. Steps 3 and 5–8 below walk through its settings.
Step-by-Step Guide to Setting Up Your First Preorder
Step 1: Access the Products Section
Log into your Timesact dashboard and navigate to the Products section on the left sidebar. Once there, click the “Add Products” button located in the top right corner of the screen.
Step 2: Select Your Products
Timesact gives you flexibility in how you add your Shopify products:
- Specific products
- Collection
For this tutorial, we’ll add products individually. Browse through your product list and select the item you want to enable for preorder. When you select a product, all its variants will be added automatically, but you can deselect specific variants if you only want certain options available for preorder. Once you’ve made your selections, confirm them in the product picker. On the Assign Customer Experiences screen that follows, select your pre-order Customer Experience and click “Save”. This screen also holds the optional start date from step 4.
Step 3: Configure When Pre-order Shows
Next, open your pre-order Customer Experience from Experiences and go to Functionality settings. Under When Pre-order shows, you’ll find three options. For most merchants, “Only when out of stock” is the ideal choice, and it is the default. This intelligent option automatically switches your product button to “Preorder” when inventory reaches zero, and reverts back to “Add to Cart” when you restock (inventory of 1 or more).
This automation eliminates manual updates and ensures customers always see the appropriate purchasing option.
Step 4: Set Your Time Period (Optional)
On the Assign Customer Experiences screen from step 2, under Schedule configuration, you can specify a start date for when you want your preorder campaign to begin. This is particularly useful if you’re planning a product launch or coordinating with a marketing campaign. Dates follow the Time zone set under Store settings in Billing & Account, and take effect at midnight at the start of the day. To set or change the start date later, open the variant from Products, or select several products and choose “Update start and end dates”.
Step 5: Set Up Your Customer-Facing Text
The same Customer Experience holds the customer-facing information for your preorder.
Title: This is for your internal reference only and won’t be visible to customers. Use descriptive names like “Preorder August” or “Fall Collection Launch” to help you organize your campaigns.
Cart Label (on the Cart page): This message appears on the cart page, so make it clear and informative. Examples include “Ships in 2-3 weeks” or “Preorder: Available September 15th.”
Pre-order Message (on the Product page, Optional but Recommended): This text appears on the product page below the preorder button. A good approach is to copy your cart label and paste it here to reinforce the message throughout the customer journey, from product page to cart.
Step 6: Configure Shipping Date Settings
Back in Functionality settings, the Shipping card offers four shipping date options, and Shopify sets each order’s fulfillment status from the one you choose:
- As soon as possible: Order status will be “Unfulfilled”
- Exact date: Choose a specific shipping date, order status becomes “Scheduled”
- A set time from checkout or A time range from checkout: Order status will be “On hold”
For your first preorder, selecting “As soon as possible” is a safe starting point that gives you flexibility in fulfillment.
Step 7: Set Billing and Payment Options
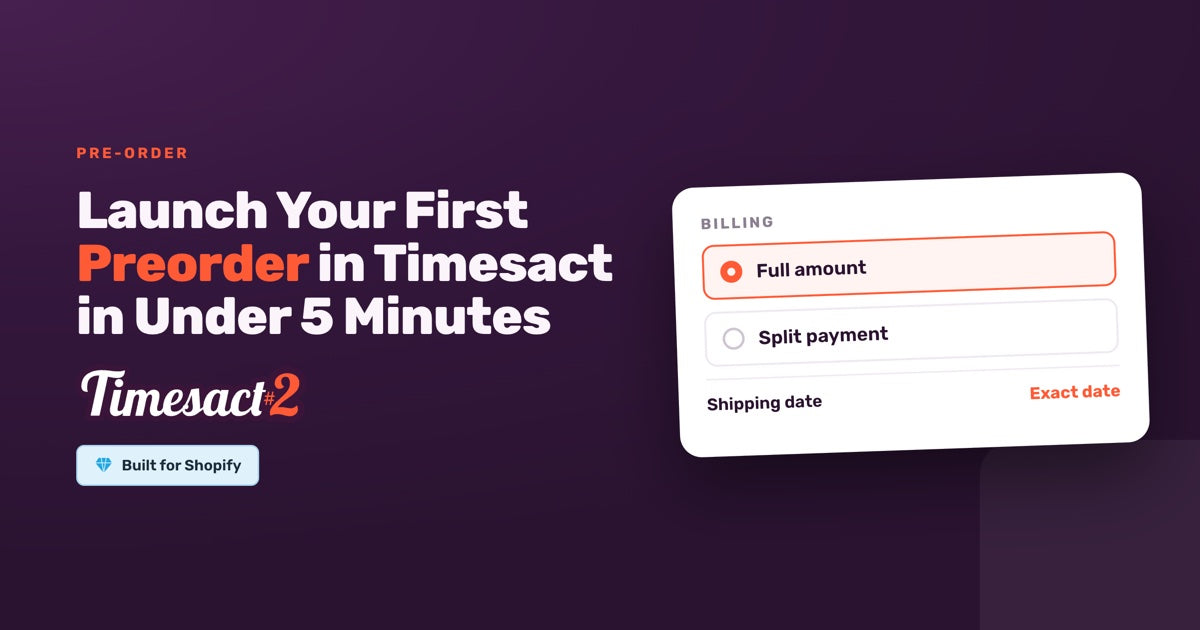
Billing: Choose between “Full amount”, charged at checkout, or “Split payment”, which charges part of the price at checkout and the rest on a specific date, a set time after checkout or, on the PRO plan, when you fulfill the order. Both methods are secure and run through Shopify’s payment system.
Pricing (Optional): Choose “Percentage off” or “Fixed amount off” to incentivize preorders. This discount will automatically appear at checkout, making it an effective tool for driving early sales.
Step 8: Configure When to Reduce Stock
Under When to reduce stock, keep “When the order is placed”, the default. This setting automatically deducts purchased units from your Shopify inventory count as soon as a shopper checks out, keeping your stock levels accurate.
After configuring all settings, click the “Save” button. To send Timesact’s pre-order confirmation email as well, open the Confirmation email on the Notifications page and publish it so it shows as Live rather than Draft. Then, as part of setup, activate your preorder by enabling the Timesact App Embed on the theme you publish: in Online Store, go to Themes, click Customize, open App embeds, switch Timesact on and click Save in the theme editor.
Step 9: Verify Your Preorder Setup
Once saved, your products will appear in the Products list. Under Functionality status, you’ll notice that products with zero stock show as “Active” while items with remaining inventory display as “On standby” (or “Scheduled” while their start date is still ahead). This visual indicator helps you quickly assess which products are currently in preorder mode.
To see how your preorder appears to customers, click the “View on the Online Store” (eye) icon next to any active preorder variant. This will take you directly to the product page where you can see the button display “Preorder” instead of “Add to Cart.”
Approaches for Successful Preorders
Communicate Clearly: Always provide transparent information about shipping timelines and expected delivery dates. Customers appreciate knowing exactly when to expect their orders.
Set Realistic Expectations: Only promise delivery dates you’re confident you can meet. It’s better to under-promise and over-deliver than to disappoint customers with delays.
Monitor Inventory Closely: Keep track of preorder quantities to ensure you order sufficient stock to fulfill all commitments.
Update Customers Regularly: If there are any changes to shipping dates or product availability, communicate proactively with customers who have placed preorders.
Leverage Email Marketing: Send reminder emails to customers who abandoned carts with preorder items, emphasizing the limited availability or special pricing.
Troubleshooting Common Issues
If your preorder button isn’t appearing, check that the Timesact App Embed is switched on and saved on the theme you publish (step 8), and that your product inventory is set to zero in Shopify. With “Only when out of stock”, the automatic switch only activates when stock levels reach zero.
If customers report confusion, review your pre-order message and cart label to ensure they clearly explain the preorder process and expected delivery timeline.
Maximizing Your Preorder Strategy
Preorders are useful beyond handling stock shortages. They’re valuable for launching new products, testing market interest before bulk manufacturing, creating exclusivity around limited editions, and maintaining revenue during seasonal inventory transitions.
By following this guide, you’ve set up your first Timesact preorder in under 5 minutes. The system will now automatically manage your product availability, switching between regular sales and preorders based on your inventory levels. This automation frees you to focus on marketing your products and delivering exceptional customer service.
Launch your first preorder today
Install the app and try a small preorder first, or book a free setup call and we’ll help you set up your first preorder.
FAQs
How does Timesact automatically switch between Add to Cart and Preorder buttons?
When you select “Only when out of stock” under When Pre-order shows, in your Customer Experience’s Functionality settings, Timesact monitors your Shopify inventory levels in real-time. The moment your product inventory reaches zero, the button automatically changes to “Preorder.” When you restock and inventory goes to 1 or above, it automatically switches back to “Add to Cart” without any manual intervention required.
What's the difference between the cart label and the pre-order message?
The cart label is set on your Customer Experience’s Cart page and appears in the cart, while the pre-order message is optional, is set on its Product page, and appears on the product page below the preorder button. A good approach is to use the same message in both fields to reinforce the preorder terms consistently throughout the customer journey, ensuring customers see the same shipping timeline or availability information at every step.
Can I offer a discount specifically for preorder items?
Yes, Timesact allows you to add a discount directly in your Customer Experience’s Functionality settings, under Pricing, as “Percentage off” or “Fixed amount off”. This discount will automatically apply at checkout for preorder items, making it an effective incentive for customers to commit to purchasing products before they’re back in stock. The discounted price will be clearly visible during the checkout process.
What happens to my order status when I set different shipping date options?
The shipping date option you select determines the initial fulfillment status in Shopify. “As soon as possible” creates unfulfilled orders, “Exact date” creates scheduled orders, and “A set time from checkout” or “A time range from checkout” creates orders on hold. This helps you organize and manage preorders differently based on your fulfillment workflow and when you expect inventory to arrive.
Will preorder purchases deduct from my inventory count?
Yes, if you keep “When the order is placed” under When to reduce stock (the default, which we recommend), each preorder purchase will automatically deduct the purchased quantity from your inventory count. This helps you track how many units you need to restock. The inventory deduction happens immediately when the customer completes their preorder, just like a regular purchase.
Run this in Timesact
Pre-order, back in stock, coming soon and more. One app, no code.
Install the app →